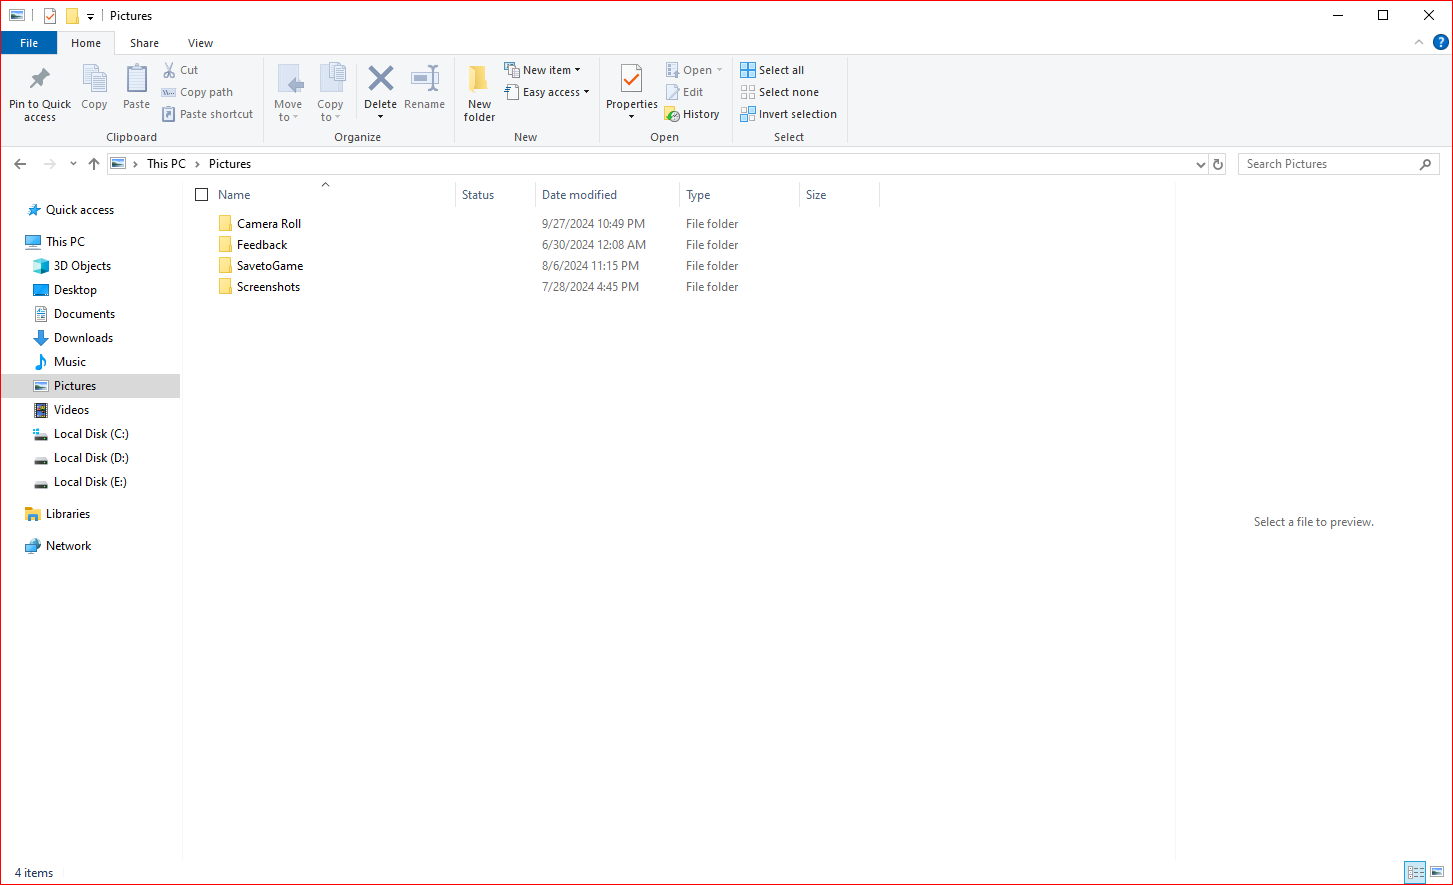
Do you find the Gallery in File Explorer on Windows 11 annoying? If you don’t use this feature often, you can completely remove it to optimize the interface and save display space. In this article, we will guide you through 2 ways to remove Gallery from File Explorer very easily and anyone can do it.
What is Photo Gallery?
In the Windows 11 23H2 update, Microsoft introduced the Gallery feature integrated directly into File Explorer. This feature provides a photo viewing experience similar to the Photos app with outstanding advantages such as:
- Preview photos with larger thumbnails.
- Intuitive interface thanks to hidden file names.
- Sort photos chronologically.
- Allows adding or removing folders from view.
While this feature is useful for some users, it may become unnecessary if you are used to other photo management apps. In that case, removing the Photo Library will help you optimize your File Explorer experience. Let’s get started!
Note before performing
Removing Gallery from File Explorer requires modifying the Windows Registry, which is a task that requires caution. Before you do so, make sure you have:
- Know what steps to take.
- Back up your system or create a Registry restore point just in case.
If you’re ready, continue with the steps below to remove Photos Library from File Explorer.
How to Remove Gallery from File Explorer on Windows 11
Method 1: Using Registry Editor
Step 1: Click the Start button and search for “regedit”, then select “Run as administrator” to open Registry Editor.
Step 2: Navigate to the following path:
HKEY_CURRENT_USER\Software\Classes\CLSID
Step 3: Right-click on the “CLSID” folder, select “New” → “Key” and name the new key {e88865ea-0e1c-4e20-9aa6-edcd0212c87c}.
Step 4: Right-click on the newly created key, select “New” → “DWORD (32-bit) Value” and name the new value System.IsPinnedToNamespaceTree.
Step 5: Right-click on the newly created DWORD value, select “Modify”, then set the “Value data” value to 0. Then, click “OK” to save the changes.
Step 6: Restart your computer or simply restart Windows Explorer in Task Manager by selecting “Restart task” from the “Processes” tab.
Once complete, Photos Library will disappear from File Explorer.
Method 2: Using Command Prompt
Step 1: Open Command Prompt as Administrator by typing “cmd” in the search bar and selecting “Run as Administrator”.
Step 2: Paste the following command into Command Prompt and press Enter:reg delete HKLM\SOFTWARE\Microsoft\Windows\CurrentVersion\Explorer\Desktop\NameSpace_41040327\{e88865ea-0e1c-4e20-9aa6-edcd0212c87c}
To restore the Gallery, just type the following command and press Enter:
reg add HKLM\SOFTWARE\Microsoft\Windows\CurrentVersion\Explorer\Desktop\NameSpace_41040327\{e88865ea-0e1c-4e20-9aa6-edcd0212c87c}
Conclusion
Removing Photos from File Explorer depends entirely on your needs. Hopefully this article has helped you understand the steps and helped optimize your photo management experience on Windows 11. Try it now and good luck in customizing the File Explorer interface to your liking!
